When I started to learn Sitecore I felt setting up the local instance is bit hassle and find out a quick and easy way. Fortunately Sitecore had think the same and I found Sitecore Instance Manger (SIM 1.3) in Sitecore Marketplace. SIM is a fantastic tool for quickly setting up the local instance for Sitecore developers.
Lets see how it is installed and used;
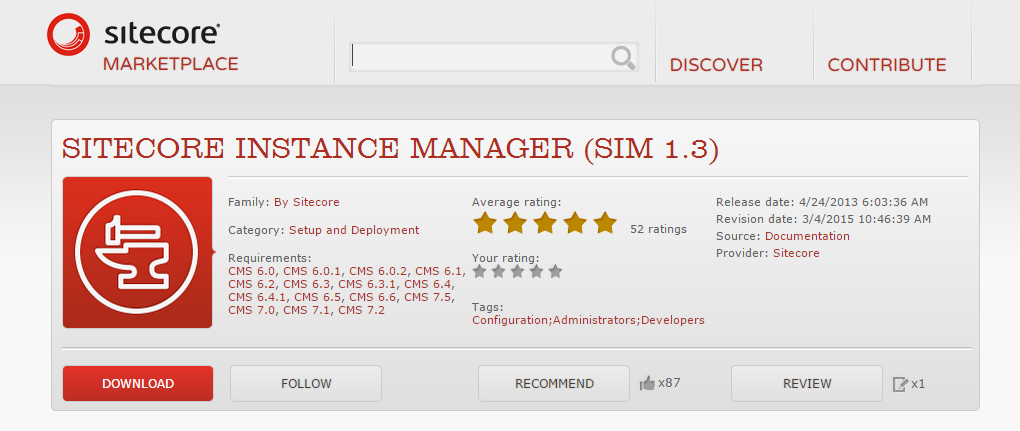
Where to download;
Go to Sitecore Marketplace and you can download this simply.
https://marketplace.sitecore.net/en/Modules/Sitecore_Instance_Manager.aspx
Find the installation (Eg. SIM.Tool.exe) to install the tool and follow the below steps to complete it.
Step - 1 - Instances Root Folder
Set the local folder where you need to install the toll and all the instances will be created here.

Step - 2 - Local Repository folder and Sitecore License
Select the folder where the Sitecore installations and Modules are stored in locally and select the Sitecore License file.

Step - 4 - Set the SQL Server and Connection String
Set the SQL instance and login credentials.

Step - 5 - Grant the permission to NETWORK SERVICE to full access to Instances Root Folder
You need to click on Grant button to apply the permissions.

The below is the my local settings screen; To view this screen in a later time HOME - SETTINGS

Now all ready use the tool;
Install a New Instance
Click on "Install Instance" Button and you will get the below screen. You can create instance with the given Sitecore version and your own site/host name.
If you are working on couple of versions you must copy the relevant Sitecore installations to Local Repository ( E:\Software) folder. Then all versions will be listed in Vesrion dropdown below;

When you click Next you will list modules that you may need to install to your instance. Select if any you need or skip without selecting and click Next button.,
Then you will get custom packages if you wish to install to the instance.
Next you get Configuration Presets if you wish to install to the instance and when you click Next you are done and new instance will be created for you.
The toll will be configured all for you. Eg: Copy the Sitecore installation files, attaching databases etc.
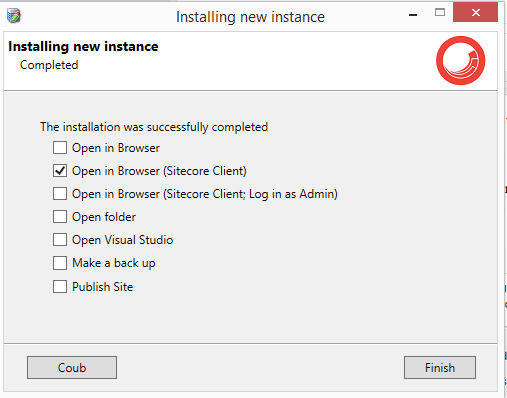
When the installation completed you will get the below screen and you can select how you need to open the instance. I usually select "Open in Browser ( Sitecore Client)" as below;
Click on Finish.You will see your instance. Right Click on the instance and you will get the below screen.
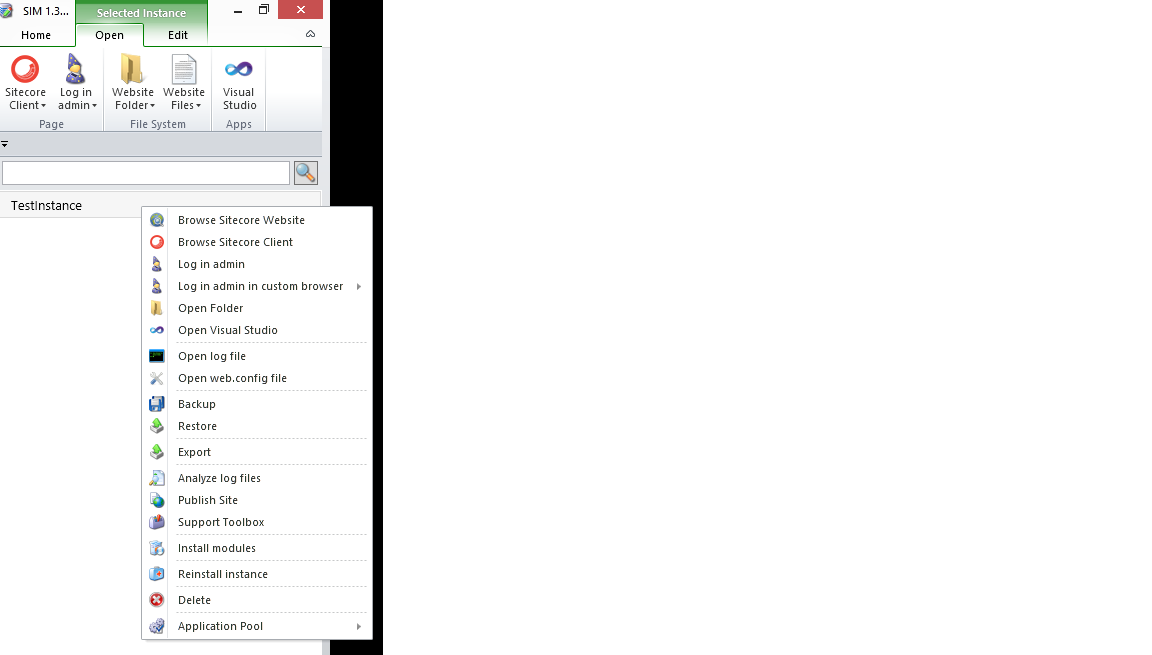
Select Browse Stecore Client and you will head to Sitecore Desktop.
If you see any issues "Login failed for user ''." then Click on Website Files button and modify the ConnectionString.config file with "ntegrated Security=True".
What are the usages of this tool;
1.> When you want to create a Sitecore instance quickly without coping Sitecore installation files time to time SIM will help you.
2.> When you have need to test a particular module development is working fine with Sitecore.
3.> When you need to test a feature working fine with selected Sitecore version.
Lets see how it is installed and used;
Where to download;
Go to Sitecore Marketplace and you can download this simply.
https://marketplace.sitecore.net/en/Modules/Sitecore_Instance_Manager.aspx
Find the installation (Eg. SIM.Tool.exe) to install the tool and follow the below steps to complete it.
Step - 1 - Instances Root Folder
Set the local folder where you need to install the toll and all the instances will be created here.
Step - 2 - Local Repository folder and Sitecore License
Select the folder where the Sitecore installations and Modules are stored in locally and select the Sitecore License file.
Step - 4 - Set the SQL Server and Connection String
Set the SQL instance and login credentials.
Step - 5 - Grant the permission to NETWORK SERVICE to full access to Instances Root Folder
You need to click on Grant button to apply the permissions.
The below is the my local settings screen; To view this screen in a later time HOME - SETTINGS
Now all ready use the tool;
Install a New Instance
Click on "Install Instance" Button and you will get the below screen. You can create instance with the given Sitecore version and your own site/host name.
If you are working on couple of versions you must copy the relevant Sitecore installations to Local Repository ( E:\Software) folder. Then all versions will be listed in Vesrion dropdown below;
When you click Next you will list modules that you may need to install to your instance. Select if any you need or skip without selecting and click Next button.,
Then you will get custom packages if you wish to install to the instance.
Next you get Configuration Presets if you wish to install to the instance and when you click Next you are done and new instance will be created for you.
The toll will be configured all for you. Eg: Copy the Sitecore installation files, attaching databases etc.
When the installation completed you will get the below screen and you can select how you need to open the instance. I usually select "Open in Browser ( Sitecore Client)" as below;
Click on Finish.You will see your instance. Right Click on the instance and you will get the below screen.
Select Browse Stecore Client and you will head to Sitecore Desktop.
If you see any issues "Login failed for user ''." then Click on Website Files button and modify the ConnectionString.config file with "ntegrated Security=True".
What are the usages of this tool;
1.> When you want to create a Sitecore instance quickly without coping Sitecore installation files time to time SIM will help you.
2.> When you have need to test a particular module development is working fine with Sitecore.
3.> When you need to test a feature working fine with selected Sitecore version.
No comments:
Post a Comment